The Best of the Joy of Painting with Bob Ross
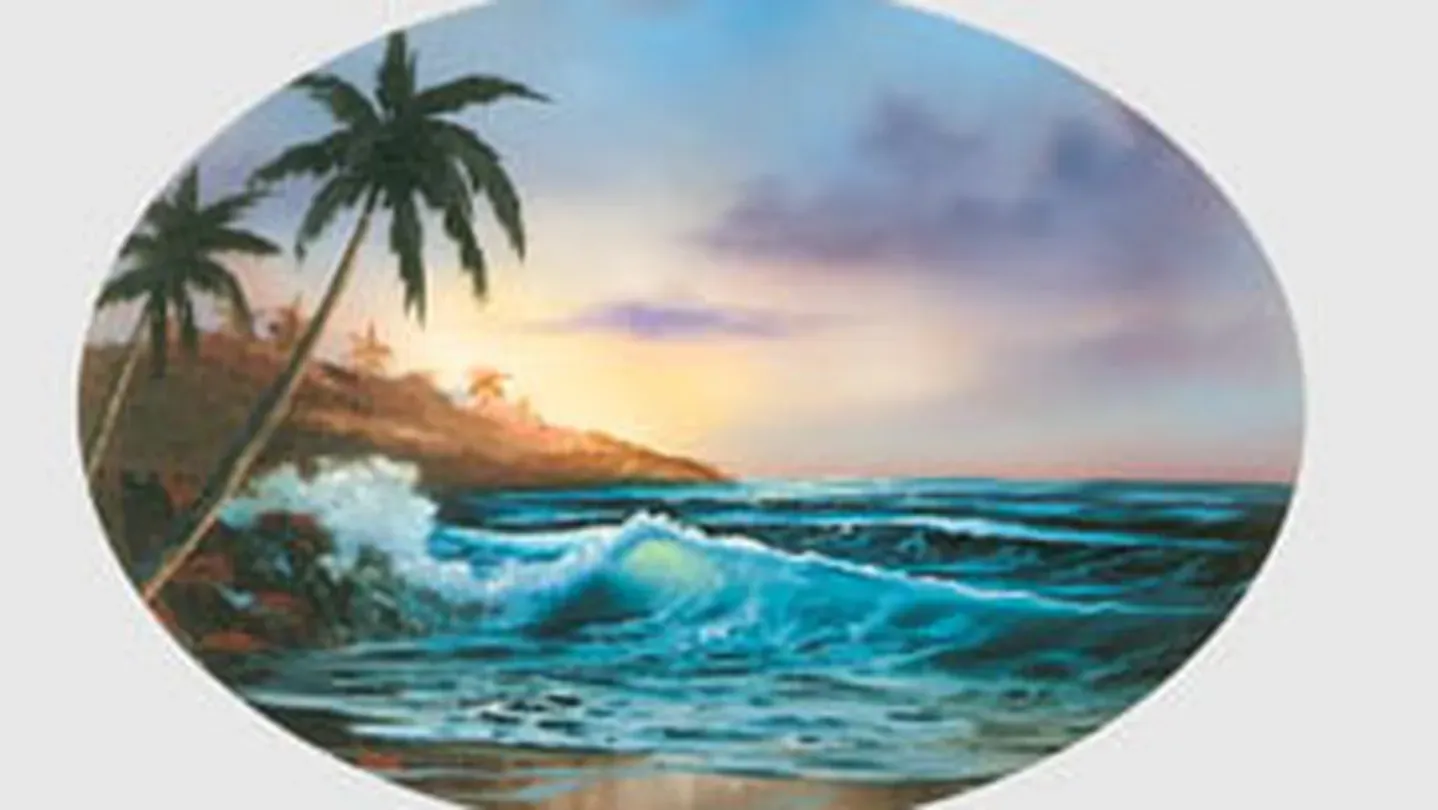
Island Paradise
Season 34 Episode 3403 | 25m 29sVideo has Closed Captions
Travel to the tropics with Bob Ross.
Travel to the tropics with Bob Ross, stroll along island shores and drink in the soul cleansing beauty of the sea.
Problems with Closed Captions? Closed Captioning Feedback
Problems with Closed Captions? Closed Captioning Feedback
Distributed nationally by American Public Television
The Best of the Joy of Painting with Bob Ross
Island Paradise
Season 34 Episode 3403 | 25m 29sVideo has Closed Captions
Travel to the tropics with Bob Ross, stroll along island shores and drink in the soul cleansing beauty of the sea.
Problems with Closed Captions? Closed Captioning Feedback
How to Watch The Best of the Joy of Painting with Bob Ross
The Best of the Joy of Painting with Bob Ross is available to stream on pbs.org and the free PBS App, available on iPhone, Apple TV, Android TV, Android smartphones, Amazon Fire TV, Amazon Fire Tablet, Roku, Samsung Smart TV, and Vizio.
Providing Support for PBS.org
Learn Moreabout PBS online sponsorship- Hi, welcome back.
Certainly glad to see you today.
I thought maybe today, we'd just do a fantastic little seascape.
It's very easy and you can do it.
Let's start out and have them run all the colors across the screen there that you need to paint along with us.
While they're doing that, let me show you what I've got done.
I thought, today, I'd put the little seascape in an oval.
We have a piece of contact paper here that I just cut an oval out of, stuck it on the canvas, and I took some black gesso and painted the bottom.
The top, I painted with gray gesso, and, as you can see, I didn't do a very good job.
It doesn't matter.
Just sort of bring them together.
Then I've covered the entire thing with Liquid Clear.
On the bottom here, I put a little bit of Thalo Blue and Thalo Green, Thalo Blue and Thalo Green, right across here.
Right down here, I'll have a little beach if it comes out right, so I put a little brown, little Van Dyke Brown right there.
Van Dyke Brown is not a transparent color, it's semi-transparent, but it's transparent enough for what we're doing here.
So let's have some fun today.
I want to start out today with a little Indian Yellow, just a very small amount.
I use the Indian Yellow because it's very transparent.
So let's go right up in here, and let's just put a little bit of the Indian Yellow right up here in the sky, something about like that, right over the gray gesso.
We'll come right down to the water.
It doesn't matter if a little bit gets on the water.
No big deal, no big deal, we don't care.
This is just a fun painting, so you're to enjoy it.
About like that, maybe a little Yellow Ochre now.
Yellow Ochre is not quite as transparent so we'll put it right in here.
I thought we can make a painting that's very bright, and very shiny, has a lot of color in it, something that, if you hang it in a room, it'll just brighten the room right up.
I like paintings like that.
There we go.
Okay.
All we're doing here is just basically putting a glaze on the canvas, just a little transparent or semi-transparent color right over the gray gesso.
Now then, I'll begin working with opaque colors.
Opaque colors, that just means you can't see through them.
White is very opaque.
I'm gonna take a little of that and go right in here, and just begin blending, just begin blending.
That's going to pick up the yellow that's on the canvas and blend right together.
We're just gonna make a nice little shiny spot there like that's where our light's coming from.
That's exactly what I'm looking for.
You play with opaque and transparent color and you can make all kinds of gorgeous effects.
There.
About like that.
I'm gonna take the least, least little touch, least little touch of the bright red.
I said "least" several times because bright red is a very strong color.
Be careful with it.
It'll eat up your whole world, your whole world, but it is gorgeous.
See, the transparency of it allows that gesso to show through, so any little thing that happened there, it comes right out into your world.
It's okay, it works, works well.
I'm just sort of jumping around from place to place here, put in a few little things like that.
I'm gonna make a little lavender color.
I want some lavender.
For that, we'll take some Thalo Blue, Alizarin Crimson.
Proportionately, many times more Crimson than Blue.
That Blue is strong, Crimson is weak.
You can't tell what color that is, it just looks black.
So you take a little white and put with some and say, do you like it?
No, I don't, so I'll change it.
I'll put a little bit more Crimson in it, cause this is our world, and we can change it any way we want it.
I like that better.
It's a little more to the reddish side, that's what I'm looking for 'cause it sort of goes along with what we have up here.
Tell you what I'm gonna do.
I'll just use a little blender brush.
I want a little blue up here, Thalo Blue, just a very small amount, very small amount.
Just going to dance that in, right in there.
Just a little.
There.
Add a little white to it, and then it'll sparkle, it'll jump right out at you.
Once again, we're working with opaque and transparent color, and it creates some gorgeous effects that I don't know how to achieve any other way.
There, see?
We have a little touch of blue up there.
Be careful that it doesn't hit that yellow and turn bright green, 'cause that'll happen if you're not careful.
We just want enough to give it a little bluish hint.
Maybe even a little right in there.
I don't know.
Just a little.
Alright.
Now, going back to that lavender color we made, tap a little into the bristles, and maybe in our world, there's a happy little cloud that floats around, has a good time right here.
Just a little cloud, there he comes.
Just using the top corner of the two inch brush, top corner only.
The other side has no paint on it, see?
I flip the brush over and I can blend out this cloud with the base of it.
Just that easy.
There.
Maybe there's even a little doer right in there.
There we go.
You can just put him in like that.
There.
Alright.
We're gonna have all kinds of beautiful little clouds in here.
Going back to the little blender brush, this blender brush is so soft, tender, you can go right over all of this without blending it all together.
There.
See there?
Just make a happy little cloud there.
Because of the angle of the camera here, it may not look just right until we go back to a camera that's shooting straight on.
Sort of doesn't look quite right there.
Maybe in our world, let's take a little, I use a little fan brush 'cause it's a little more detailed and I can get in here.
I'm gonna put a little, little cloud right over this.
Just a happy little cloud.
That easy.
Back to our little blender brush, and very lightly, very lightly, you can go right in here and blend that.
See there?
Little cloud just lives there and floats around, has a good time.
Okay.
I think that's basically all we're going to do for that little sky, 'cause I'm gonna spend more time with the water.
Alright, as I say, it's Thalo Green and Thalo Blue.
We just bring it right up to the horizon there.
About like that, no big deal, however.
Take the little blender and blend right over that.
It doesn't matter if it picks up a little touch of it, but it brings that horizon right together.
There.
Okay, better wash that little blender off.
We wash it the same way as we wash the other brushes, except it's not near as much fun to beat.
Alright, dry it on a paper towel.
Maybe in our world, tell you what, I'll move that over there.
I'm gonna get some Dark Sienna, little bit of the bright red, and some white.
I'll just mix those together.
I like that, that's a pretty color.
Part of it, I'm gonna put a lot of white in.
I want part of it to be lighter than the other.
There.
Sort of a pinkish.
Let me wipe the old knife.
We'll grab us a fan brush here.
There's one.
Get the old fan brush loaded full of color.
Alright, let's go up in here.
Maybe there's a little headland, comes out right here.
Take the fan brush and we'll push upward.
I'm starting right into the lightest area with my lightest color that I've made right there.
Now I'm going into the darker part of the same color.
Begin letting that get darker and darker.
There.
See there?
Darker and darker, both directions.
Each time, little darker.
We'll just sort of work that together.
Darker, and darker, and darker is all we're looking for.
Dark, dark, dark.
Down here at the base, almost a solid Van Dyke Brown where it comes to the water.
Want that to be very dark.
Alright.
As I say, this is one of the easiest little seascapes that you can do, and it's very effective, very, very effective.
There, this will make a beautiful gift for friends and neighbors, whoever.
What's so nice, we know that paintings will be with us long after we're gone.
Maybe, for some of us, maybe it's about as close as we come to immortality.
I'm going to the liner brush with paint thinner on it, and maybe out here in our world, little darker so it stands out a little more.
Sometimes you have to exaggerate color for television purposes.
Maybe there's just a happy little palm tree that lives out here, several of them.
Just make the indication of some little palm trees that live.
These are too far away, now, to have much detail.
We're just looking for basic little shapes, basic little shapes.
We don't even know where they're at.
There.
Put some little arms sticking out there on him.
There we go.
Something like that.
See?
Just wherever you think they should be.
Not gonna spend a lot of time messing with them.
That'll give you an idea of how to make what looks like a bunch of little palm trees far, far away.
There.
I live in Florida, so we have a lot of palm trees there.
There we go.
Alright.
Oops, didn't get that brush clean.
Try again.
Now we can get down here to the fun part of this.
Let's grab a fan brush.
I'm gonna go right into a very small amount of the Titanium White.
We don't need much, just put some on the bristles, and let's begin figuring out where things are at.
Let's have a big old crasher wave in here, and our crasher wave's gonna live right about there.
It'll come over and go right on off the canvas somewhere.
To help, there's where it's gonna crash.
Does that help?
Like that.
That just sort of lays it out so you have an idea of where you're going.
Sometimes it's hard to take a trip if you don't know where you're going.
We're taking a little trip.
Here, let me exaggerate.
I'm doing this, only not near that big.
I'm exaggerating grossly there.
So that you have little wave motions happening back there, far away.
Maybe in our world, maybe there's another little wave lives right here.
Just sort of outline them.
It really helps you to see where they live and how you want them to go.
Something about like that.
Isn't that color gorgeous?
That Thalo Blue and Thalo Green.
I like that.
It's a dynamite color, dynamite.
Over on this side, I want to get very dark in comparison.
Alright.
I have several fan brushes going here so I don't have to spend all my time washing them.
I'm gonna grab one and begin pulling that color back.
I'm just going back with it.
Something like that.
See there?
We're more interested in the dark area, believe it or not, than we are the light area.
The dark area here, that's our good friend.
See those, how they just begin appearing?
Then you come back with a little liner brush and put all the little highlights in there, and that's when it really, really and truly, jumps right out at you.
Alright.
Something about like so.
Back into my paint, Titanium White.
This is the fun part.
Let's make the wave crash over.
Start up here where you think it lives, grab it, and just give it a little pull, a tiny little pull.
Load a little bit more color on the brush.
You may have to reload the brush several times so this color stays pretty pure.
You're picking up a little of that, but you don't want a whole bunch.
Want it to be bright.
It's going to be your center of interest right here.
Right there, like that.
Chh.
Make those little noises, it helps.
Let's grab a little filbert brush.
I'm gonna take a little white, a little Cad Yellow, mix them on the filbert, and right here, this is gonna be the eye of the wave, or the transparency, or, in technical terms, it's called the "pretty part."
There.
Let me wipe the color off and reload it so it's nice and pure, but even that makes a beautiful color against that Thalo Blue and Green, beautiful color.
We'll just sort of let that wander right on down there, out of the way.
Now, we take our little blender brush.
Very soft, very gentle, and you can come right in here and just sort of use the corner of it, and begin blending that.
You can blend it until it's absolutely as smooth as silk.
There we go.
Just wind it up.
Look at that.
See it come there?
Little blender brush makes it so much easier.
You can do it with a two inch brush, though.
If you don't have a little blender, you can do it with a two inch, just not quite as smooth, not quite as smooth.
Back to my little filbert.
Add a little lavender color, crimson and blue.
I'm gonna use that for the shadow color of the foam here.
Chh.
Make these little noises, they really help.
Think about the waves just coming up here, and turning, and crashing, just having a good time.
There.
Alright.
We'll come right on up like that.
I'm gonna put some rocks there.
Just decided I'm gonna put some rocks there so I'm not too worried about that area, not too worried about that right now.
While we have these old filberts going, bring this right on around.
We can begin thinking about foam patterns that are just working right on down the side here.
These foam patterns are what give shape to your wave.
I find that holding the brush like this rather than like a pencil, allows you a little more control, but that's an individual thing.
You try it and see.
You try it and see 'cause everybody is different, thank goodness, so it makes us all wonderful and special.
Would be boring if we were all the same, I'll tell you that.
Let me wash that brush and get it nice and clean.
Just wipe it on a paper towel, clean it off.
I'll take just pure Titanium White.
I'm using pure white because it's gonna mix with all these under colors.
We're gonna get all kinds of things.
Let's put a little foam right up here, little splashy doers.
Chh.
Once again, make those little noises.
I know people look at you funny, but it puts you in the mood.
Makes you feel like you're at the ocean.
There.
See?
There they go.
Just crashing and having a good time.
Back to our little blender.
Once again, you could use two inch brush and it'll work.
I did for many years before we got the little blenders.
It will work.
It's not quite as smooth, but you'll be delighted with the effect that you get.
You're continually picking up that under color.
We said we was gonna have a rock out there, so let's build us a rock.
You take Van Dyke Brown, a little Dark Sienna mixed together.
I'll put some black in it too.
I want a dark rock.
In fact, I'm gonna use a lot of black.
I want it really dark.
Our rock lives right there.
This old filbert brush is great for rocks.
Just drop them in.
There.
We have a whole big old bunch of rocks there now.
We don't even know how many rocks.
Take a little of the bright red, I didn't clean the brush, just leave the dirty color on there, and you can begin picking out and forming all the various rock things.
Just let them come right off your brush.
Here comes one.
See there?
As I say, the old filbert brush does some nice things like this.
You can literally shape a rock.
That would make a good song, "Shape A Rock."
There we go.
Wherever we want it.
Take my liner brush and get some white, put a little of Thalo Blue with it.
That's pretty, I like Thalo Blue.
Paint thinner.
Here and there and there and here.
Let's just put the indication of water that's dripping all down these rocks.
When you have unlimited time at home, play with this.
Oh, it's fun, it is so much fun to do this.
I like to do these little simple seascapes.
Sometimes seascapes can get to be a son of a gun.
What we show you here, though, are very simple, and you can do them, you can do these.
We need a little area up in here that looks like beach.
We'll take a little white.
We'll just use a two inch brush.
Decide, basically, where your beach is gonna be, let's say it's right here.
Pull straight down, straight down.
There we go.
There.
Something about like that.
It looks like a little dirt up here, little sea sand.
Put a little more white right here.
There's our light source, so we'll put a little additional white right there.
Then, go across and instantly, it looks like very wet sand.
Good place to take your shoes off and just let your feet run naked through there.
That's fun.
Now, let's decide where a wave comes.
I'm gonna take the small knife, I use the small knife for this, and take a little blue, a little Thalo Blue, and put in my white, but not much, just a little.
Basically, it comes right about here.
See there?
I'm pushing very, very hard.
You can probably see the knife bending.
I guess if you do that over a period of years, you can finally wear the knife out pushing so hard, but it takes a long time.
We can just go back in here and put in all kinds of foam patterns.
There we are.
Something about like that.
Okay.
Find my little filbert brush, take a little white, at least a little touch of blue in it, and you can begin working on all these little things, putting in detail.
There we are.
Little touch more of the blue in it.
See there how easy that is?
Sometimes, it's fun to take Thalo Blue and Thalo Green like Thalo Blue and a little Thalo Green mixed together, and you can go back in here and punch in holes.
I guess that's a good way to call it.
Just punch in holes in the surf.
Right like that, wherever you think they should live.
Alright.
Let's find our little liner brush here.
There it is.
With that, I'll take a little white, paint thinner, touch of the Thalo Blue, just a touch, just want to tone it, and let's go in here and begin putting in all kinds of little things.
Once again, when you do yours, take your time, and put in a ton of these.
They're gorgeous.
It's what makes your painting work and look good.
Maybe there's even a little bit of water right here.
See here?
Okay.
Then you come right in here.
Just begin putting in all your little, these are the little goodies that make your painting work, make it beautiful.
There.
Begin blending it back.
All kinds of little doers.
Once again, I know you're tired of hearing this, but these little lines here are what shape your waves, what give form and texture to your waves.
Treasure them, they're your good friend, very good friend.
There we are.
There.
See?
Just let them go.
I'm going to go into a little bit of Cad Yellow and white.
Back here, I want to brighten this area where as it comes around like that.
There.
See, you just have a little sun zinging right through that area.
Right on down.
Alright.
Tell you what, let's have some fun here.
Let's have some fun.
I'm gonna take black.
Bravery test.
Palm tree lives, yep, you're right, right there.
He's got a friend, lives right there.
Right through all that, right through all that.
We take our knife, then take a little brown and white, and we just put a little edge on this palm tree, just a little edge, just touch it.
That's all you gotta do.
Touch, just touch.
There.
Okay.
Fan brush, paint thinner.
I want to thin this paint.
I don't want to thin it as thin as ink, but I want it much thinner so it'll slide easily.
Let's come up here, and we'll put some little doers hanging off this tree here.
Just a few little things, there they come.
There.
Isn't that a simple little way of making a gorgeous little seascape?
It really works well.
This is one that, if you give to friends, they'll be delighted.
Alright.
The other tree, he's naked back here.
He needs something too.
There.
Something like so.
That gives us a basic little palm tree, very simple one.
I'll tell you what.
Let's come up here and take the contact paper off and see what we have.
This is the moment of truth.
Isn't that fantastic?
It's a beautiful way to make a very effective little seascape.
I hope you try it, and from all of us here, I'd like to wish you happy painting, and God bless, my friend.
(soft jazz music)


Support for PBS provided by:
Distributed nationally by American Public Television